Hakyll, Github and building a static site with Travis CI
Hello World! Here I am, I’ve got a blog now! There’s still a lot missing: a decent design, code highlighting, comments etc. But I can add these later. After all, what’s the most important thing about blogging? Right, content.
So, for a first post, I’ll share my blogging setup. Being a Haskell fan and proponent of simple systems, I had no other choice but to use Jasper van der Jeugt’s excellent Hakyll static site generator. And since I like version control and Github, I’m hosting both the source and the generated site on Github using Github Pages.
The basic setup
After installing Hakyll, you can create a simple site by running
This generates a directory structure that looks like this:
$ tree
.
├── about.rst
├── contact.markdown
├── css
│   └── default.css
├── images
│   └── haskell-logo.png
├── index.html
├── posts
│   ├── 2012-08-12-spqr.markdown
│   ├── 2012-10-07-rosa-rosa-rosam.markdown
│   ├── 2012-11-28-carpe-diem.markdown
│   └── 2012-12-07-tu-quoque.markdown
├── site.hs
└── templates
    ├── archive.html
    ├── default.html
    ├── post-item.html
    └── post.html
The file site.hs contains the rules for building the site, specified in Hakyll’s DSL. I won’t go into the details of this, as there are already many tutorials explaining how to set up routes and build rules. Let’s quickly initialize a git repository and set up synchronization with it’s github counterpart with
You can now build the site with
This outputs the final site in the directory _site. But here we have a problem. Github Pages serves the content of the repository your-name/your-name.github.com on the same domain. Our content, however, is in subfolder _site! One neat trick that I learned from Agam Brahma to deal with this, is the following: You create one extra branch in the repository, named source, that will contain the source code for your static site. The static site itself will reside in the default main branch. To synchronize them, you add your repository (the main branch) as a git submodule under the directory _site to the source branch of the same repository. If you didn’t understand the last sentence, no problem. Just run the following:
$ git commit --allow-empty -m "dummy first commit"
$ git push origin master
$ git checkout --orphan source
$ git submodule add https://github.com/your-name/your-name.github.com.git _site
Now you can build your site and push it to Github:
$ vim about.rst
$ git add --all
$ git commit -m "edited about page"
$ git push origin source
$ ./site build
$ cd _site
$ git add --all
$ git commit -m "new about page"
$ git push origin master
$ cd ..
The website should now be live at your-name.github.com.
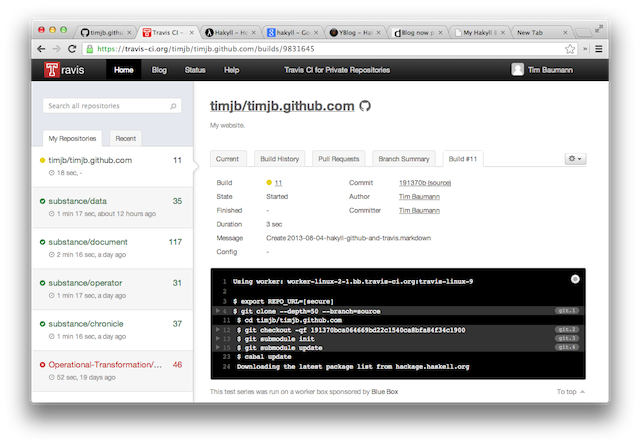
Building the static site with Travis CI
One cool thing about using Github Pages and the Jekyll static site generator is that you can push your source code to Github and Github will take care of building and publishing your site. You can achieve a similar effect by using Travis CI, a hosted continouos integration service for open source projects. We’re not going to use Travis for testing, though. Instead, we will misuse it as a tool that runs our builds our website whenever we push some changes to our repository and publish.1 Specifically, we will make Travis install Hakyll, build the site executable, generate the static site and publish the changes to Github. For the last step, we will need to authorize Travis to publish changes to the Github repository. We will use a url to the Github repository with HTTP authentication information to do this. To make sure nobody sees your password, run
$ gem install travis
$ travis encrypt "REPO_URL=https://your-name:password@github.com/your-name/your-name.github.com.git"
Travis uses a configuration file named .travis.ci in the main folder of your repository. After many trial builds and configuration changes, I arrived at this version of .travis.ci:
language: haskell
branches:
  only:
    - source
env:
  global:
    - secure: "the secret you just generated"
install:
  - cabal install hakyll
  - ghc --make site.hs
before_script:
  - cd _site
  - git checkout master
  - git pull origin master
  - cd ..
script: ./site build
after_script:
  - cd _site
  - git status
  - git add --all
  - git config --global user.email "your@mailaddress.com"
  - git config --global user.name "Travis"
  - git commit -m "snapshot $(date '+%m/%d/%y %H:%M')"
  - git push "$REPO_URL" master | grep -v http
  - cd ..
Some details requiring some explaining about this:
- We use Travis only on the
sourcebranch. - To make sure we don’t run into merge conflicts, we always pull all changes to
_siterepository. - Git requires us to configure a user name and email address before making a commit.
- The tool
grepis used to hide the line with the repository url and the HTTP authentication information.
Commit this file, and set up Travis. Now you should be ready to go! Edit some file, push it to Github and your changes should be live … about 15 Minutes later. Yeah, that’s a bit long, but installing Hakyll on Travis takes some time. I’ll try to reduce that time and will let you know when I have found out how to do so.
Bonus: Editing on Github
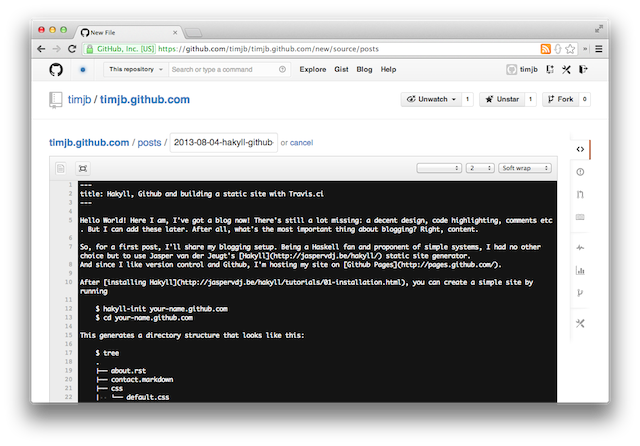
Since Github supports creating, renaming and removing files, I can now update my site from any computer in the world which has a web browser, without needing to have Git or Hakyll installed.
Apparently, I’m not the first one to have the idea of using Travis CI for this purpose.↩︎